Overview
We use the Remote Desktop Protocol (RDP) for remote GUI connections to CS Linux machines. This provides remote access to a Linux system’s graphical user interface.
To use this service from off-campus you must be connected to the CSU’s VPN.
More information here: https://sna.cs.colostate.edu/remote-connection/vpn/
If you disconnect from a RDP session, you can reconnect to the same session in the next 48 hours. To completely end a session you need to log out inside of your RDP session, using the Linux desktop environment’s logout menu option, instead of interrupting the connection. All sessions, which are not connected for over 48 hours, are automatically terminated.
If you are facing issues, please read the Troubleshooting section at the end.
RDP for Linux machines originated as a courtesy service during the pandemic. At present, it is available only on the machines in Lab 120. This service is not intended as a replacement to SSH.
Connection Process
First choose a CS machine for remote connection. The webpage https://www.cs.colostate.edu/machinestats/ provides a list of machines which are labeled for general use. The list is sorted in ascending order by the “load average” in real time. Pick up any machine from the top of this list which has the least number of connected RDP sessions.
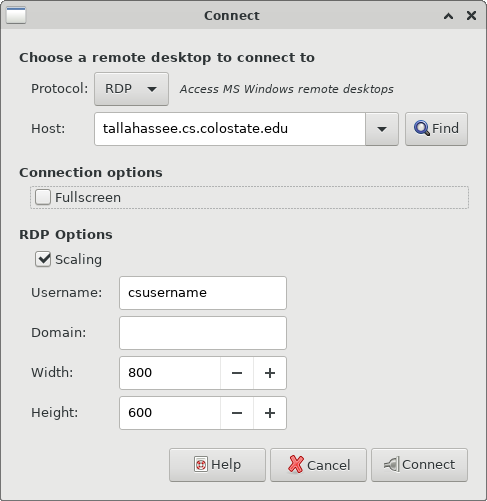
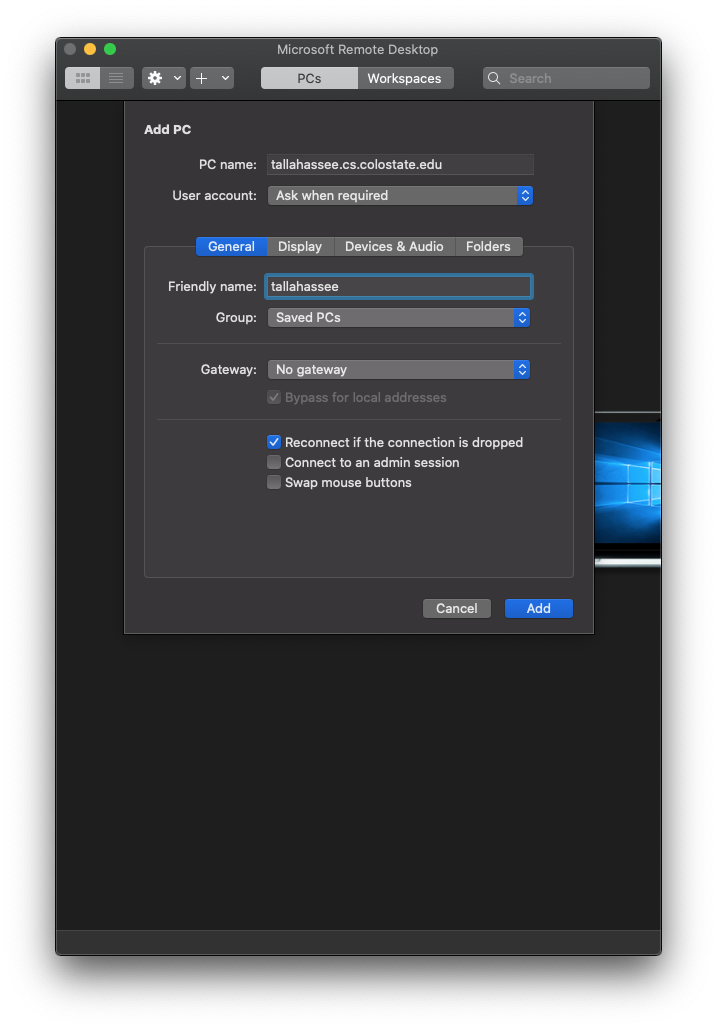
In this example, we are using the CS machine named “tallahassee”.
Now follow the guide below based on the OS on your laptop
Most Linux distributions have a RDP client software installed. If it is not already installed on your system, install your favorite RDP client (rdesktop, vinagre, remmina, etc).
Here we will show how to use the Remote Desktop Viewer software, which is available on all CS Linux machines. Start the application from: Applications –> Internet –> Remote Desktop Viewer
In the next window select the RDP protocol and enter the CS machine’s fully qualified domain name, under the Host field. Use other values as shown in the screenshot below, and hit Connect.
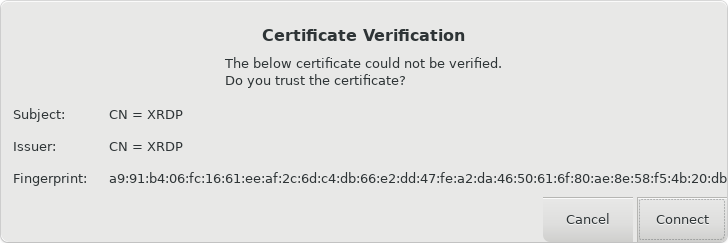
Accept the certificate warning by clicking on Connect.
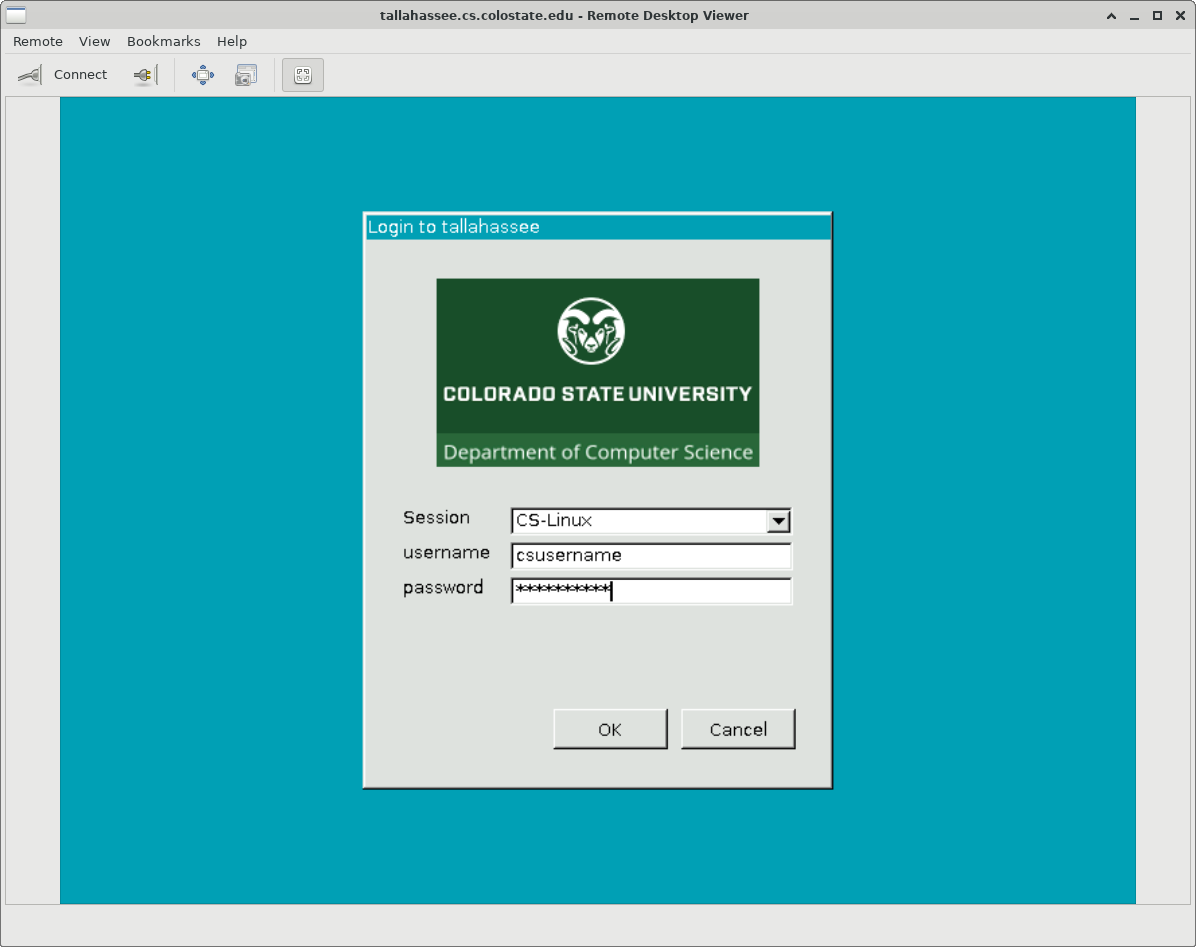
Now you should see a login screen where you can log in with your CS Linux account credentials.
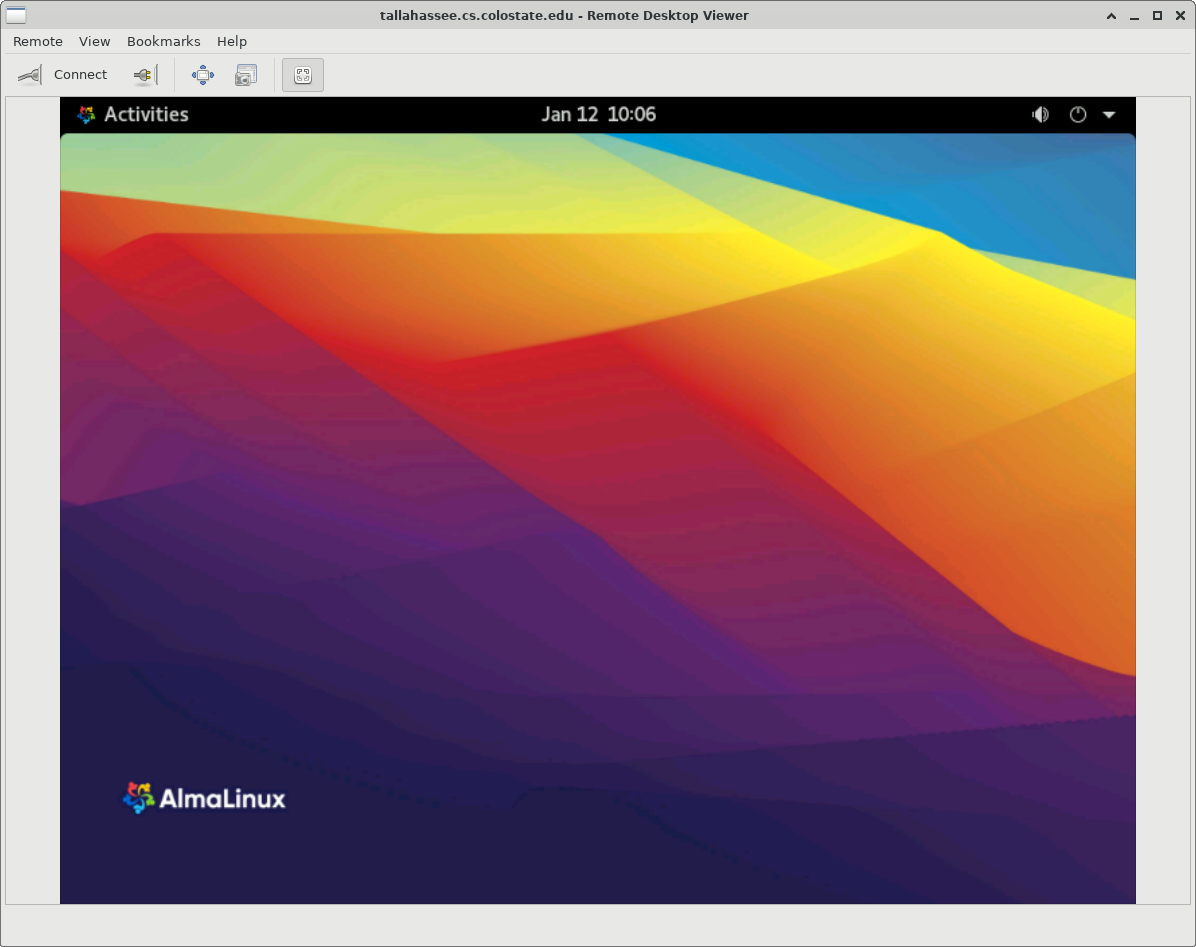
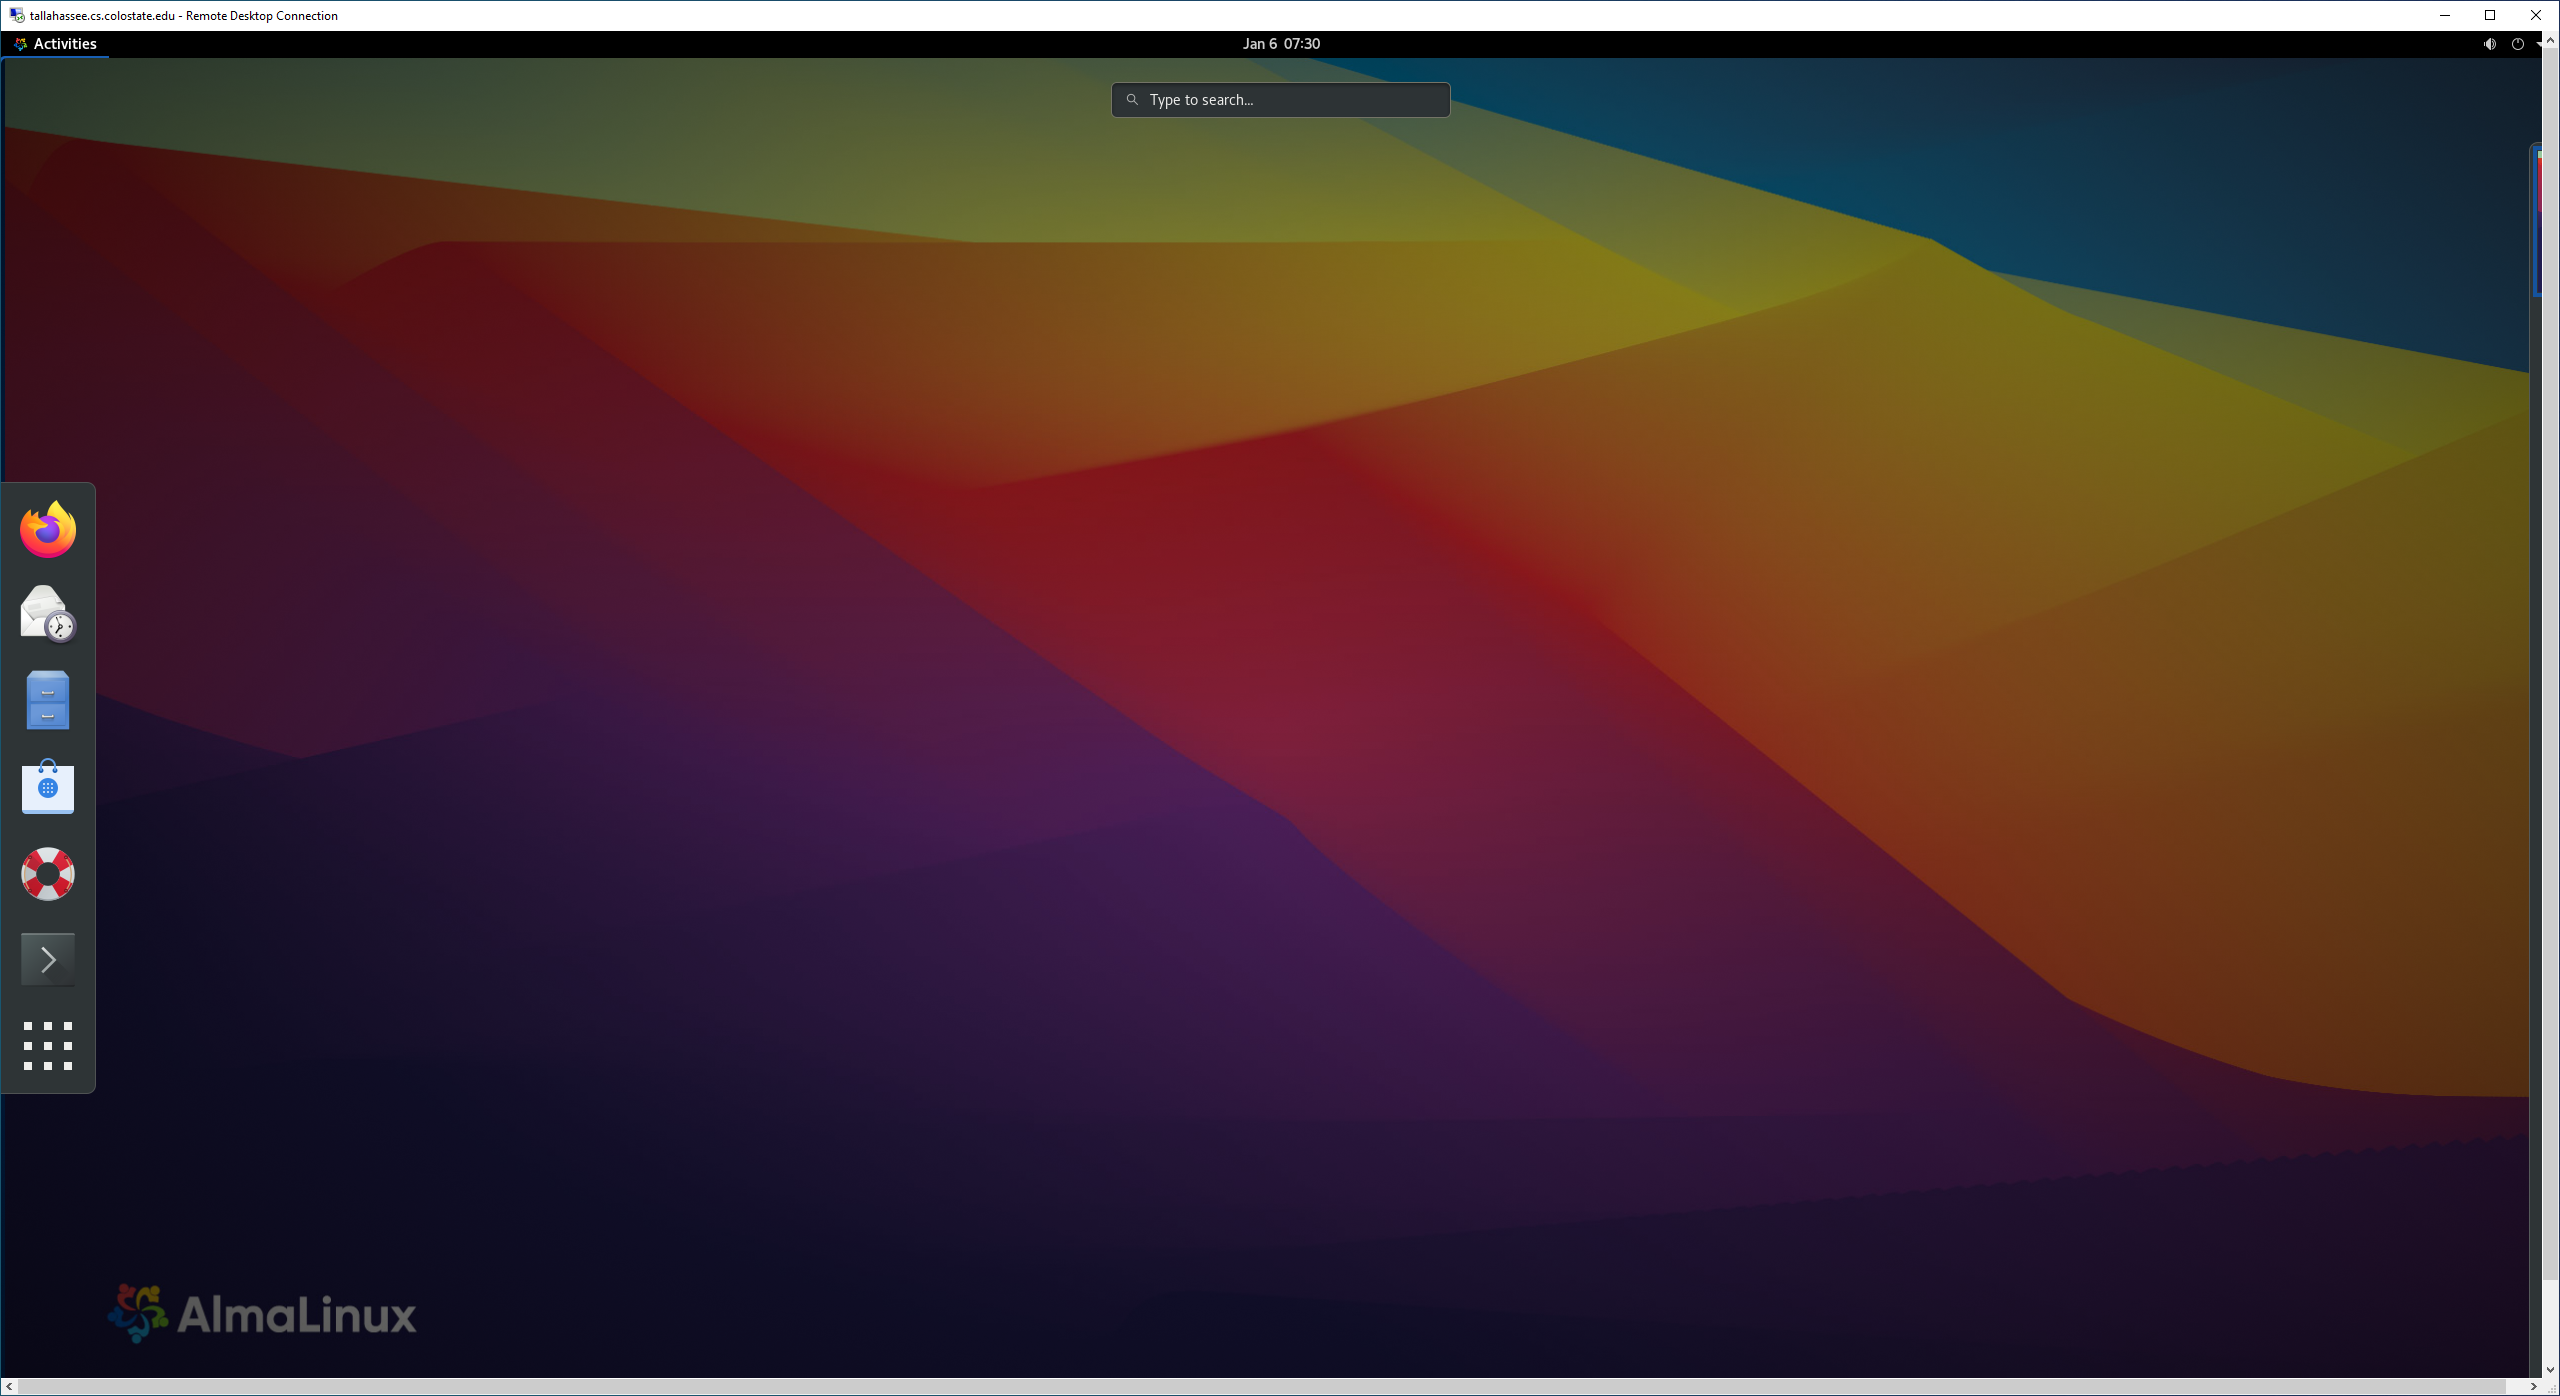
After logging in you will be presented with a full desktop session. This starts a GNOME session by default. If you want another desktop environment please read the corresponding section on this page at the end.
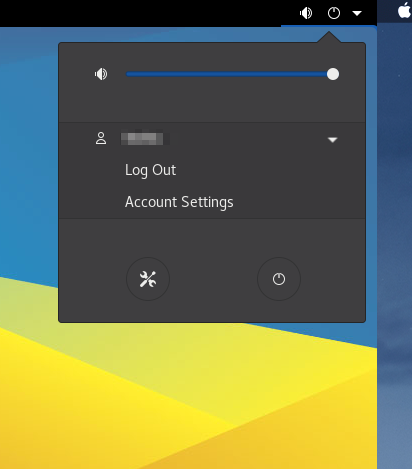
Pausing a remote connection
If you would like to keep the session running and come back to it later, you can pause it by simply closing the RDP window (by hitting on the “X” in the window title bar).
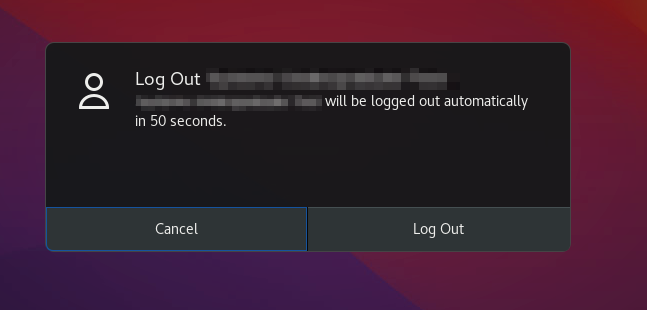
Terminating a remote connection
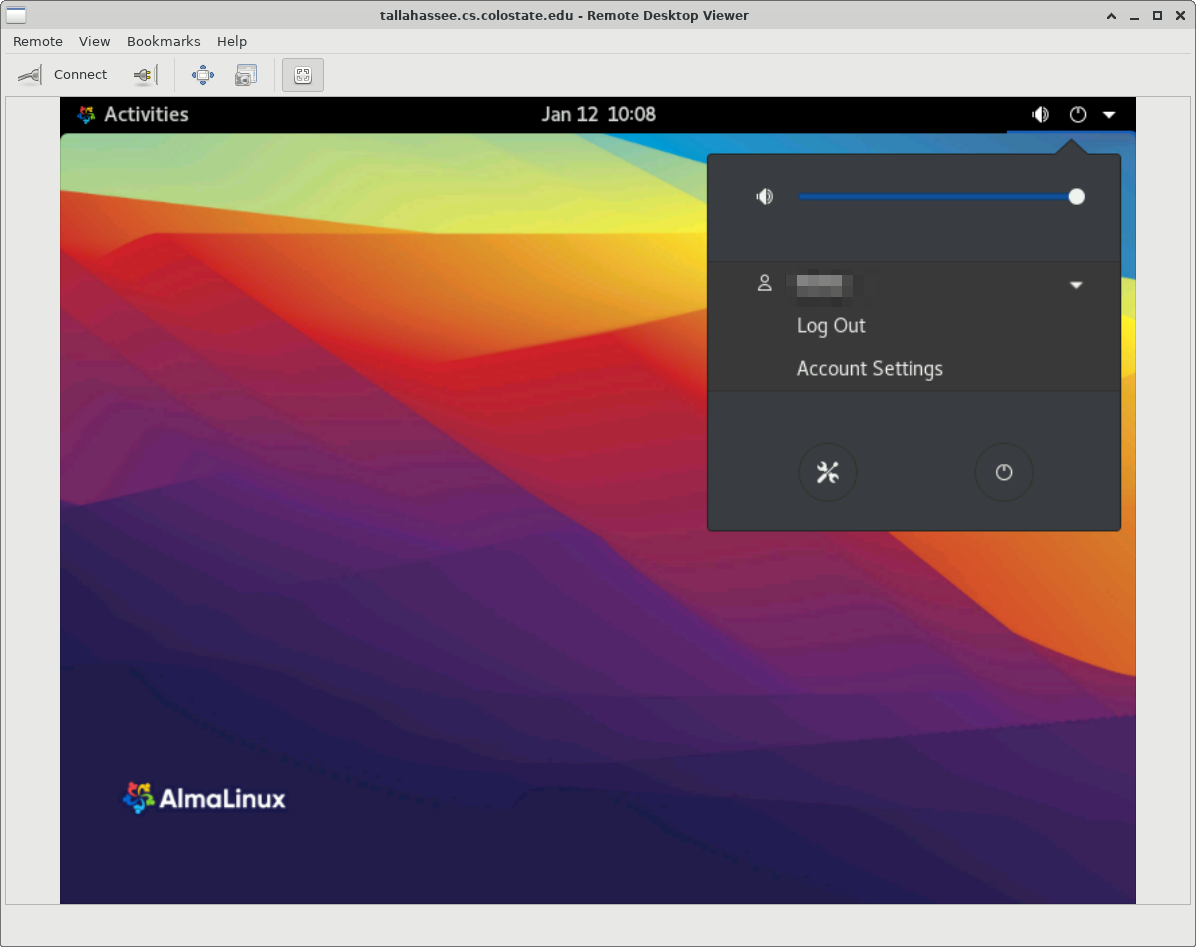
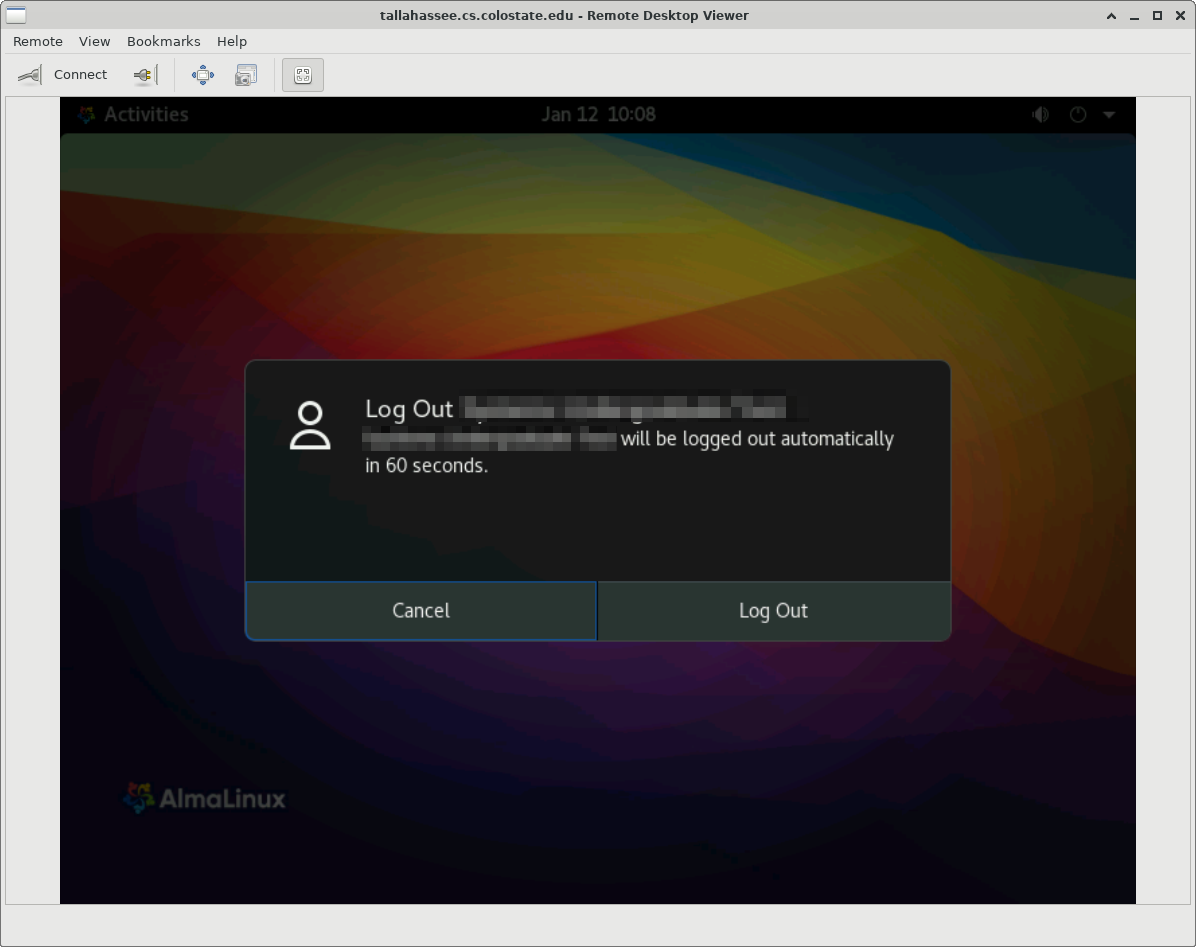
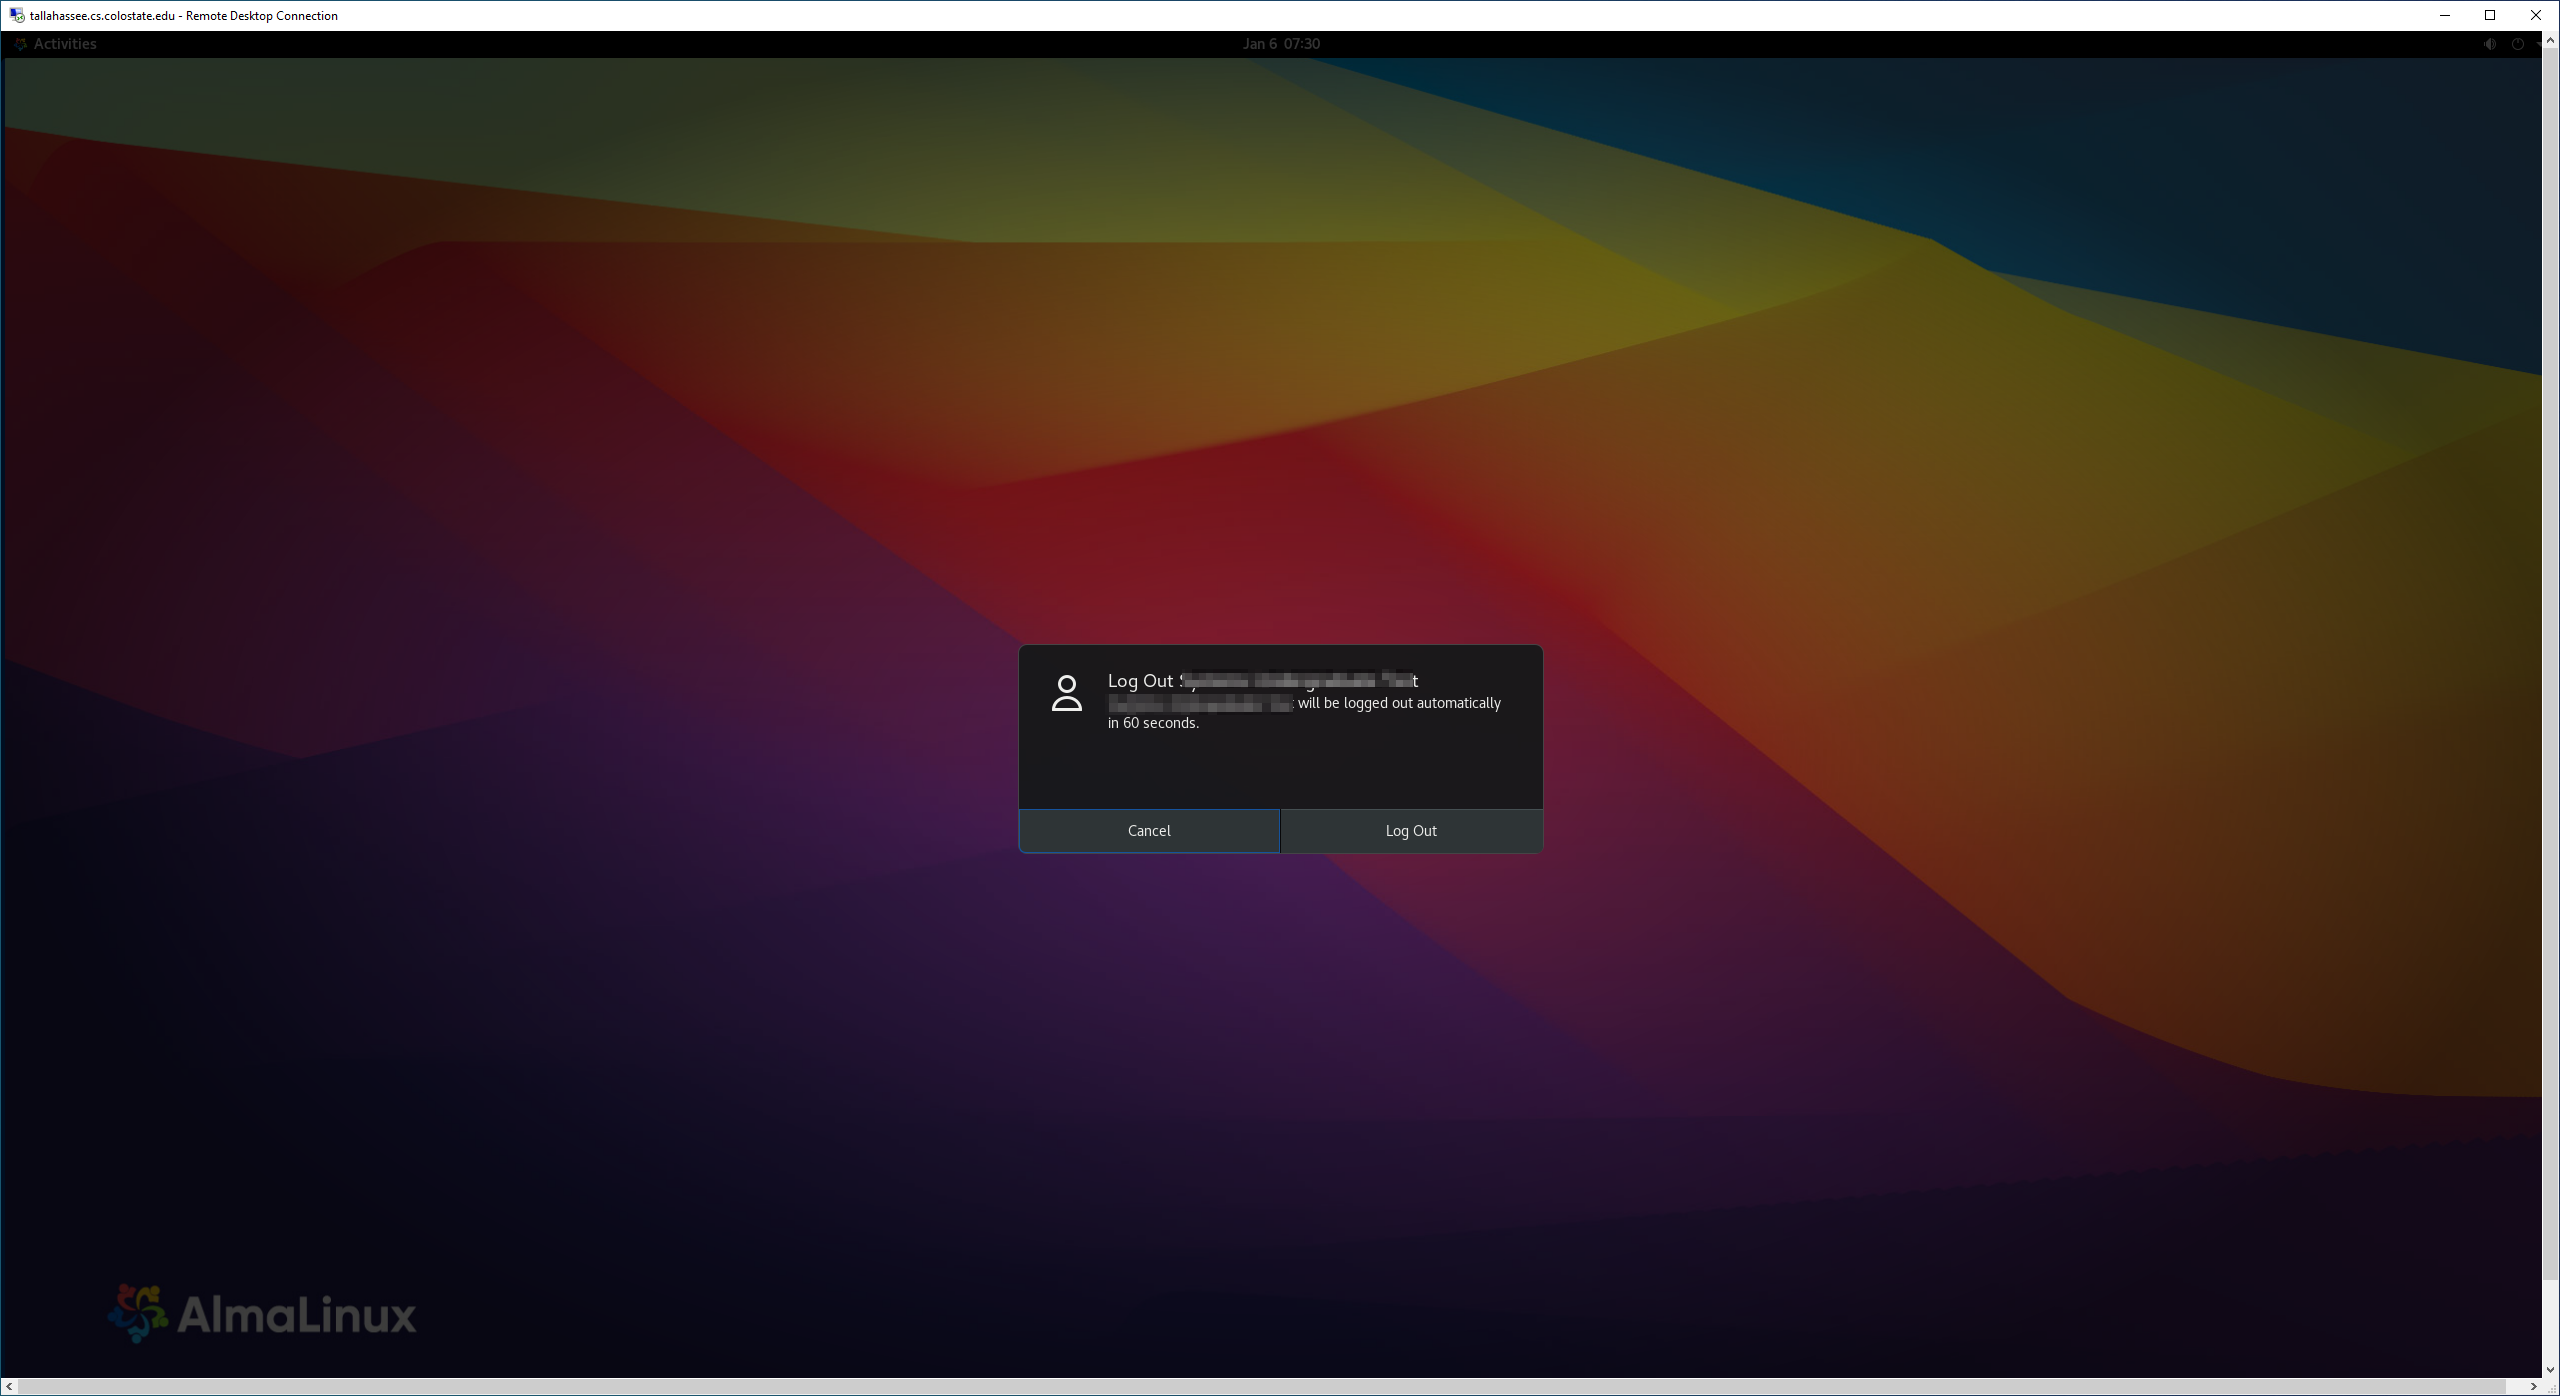
If you would like to terminate the session completely, you need to log out inside of your RDP session, using the logout menu item of the desktop environment.
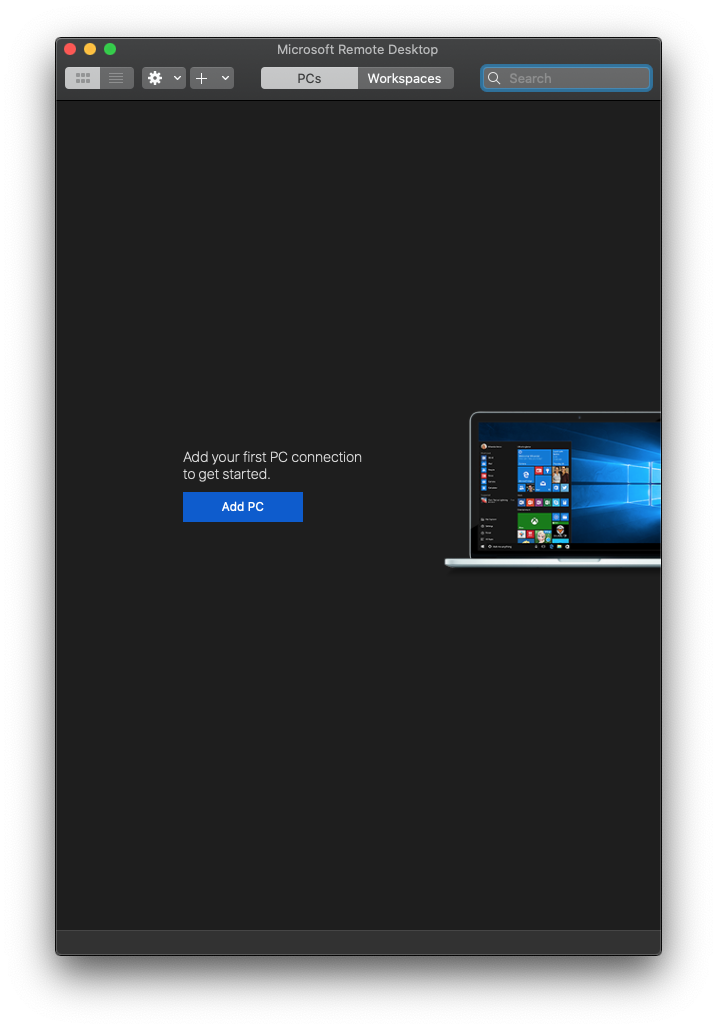
Go to the AppStore and search for ‘Microsoft Remote Desktop’. Install and start it. Click “Add PC” to add a RDP connection.
In the next window enter the CS machine’s fully qualified domain name, under the PC Name. Use other values as shown in the screenshot below, and hit Add.
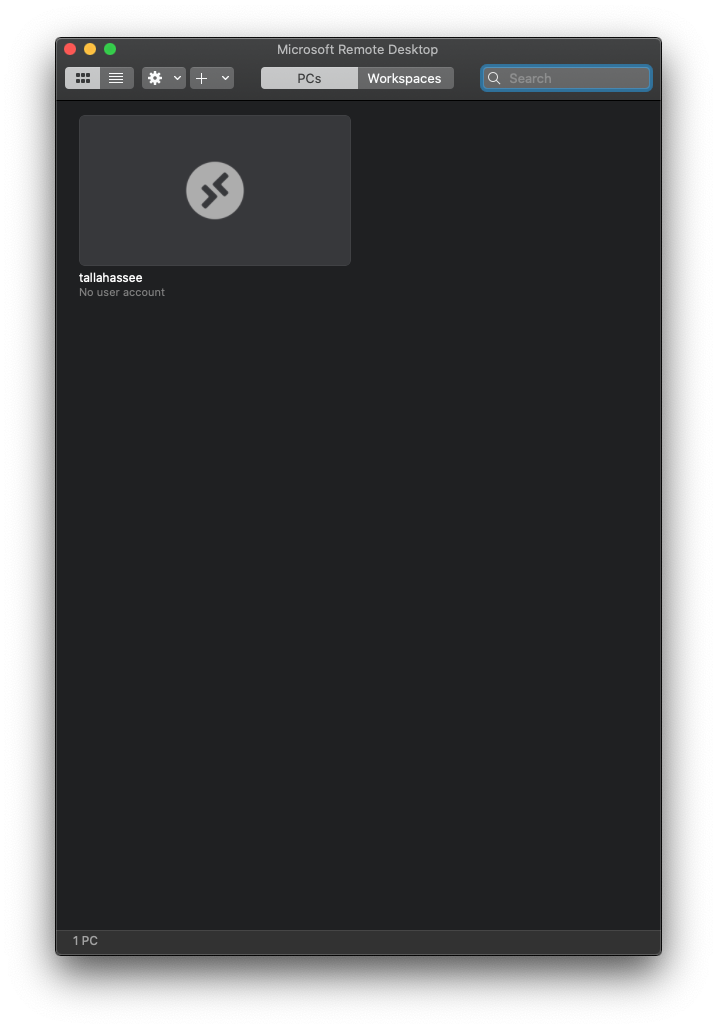
You will now see this connection in your list of saved connections with the name you specified as the Friendly Name above.
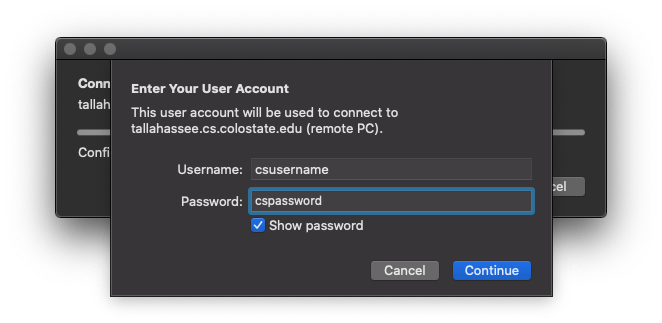
Click on this connection and you will be prompted for your credentials. Provide your CS Linux account credentials and hit Continue.
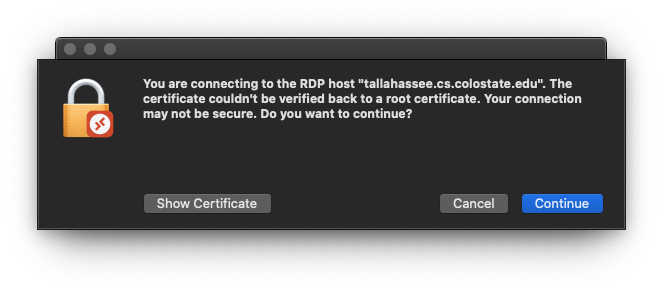
Accept the certificate warning by clicking on Continue.
After logging in you will be presented with a full desktop session. This starts a GNOME session by default. If you want another desktop environment please read the corresponding section on this page at the end.
Pausing a remote connection
If you would like to keep the session running and come back to it later, you can pause it by simply disconnecting the RDP connection. To do this, go to the Microsoft Remote Desktop application. Click the three dots on the saved connection icon to bring up a context menu. Click on Disconnect.

Terminating a remote connection
If you would like to terminate the session completely, you need to log out inside of your RDP session, using the logout menu item of the desktop environment.
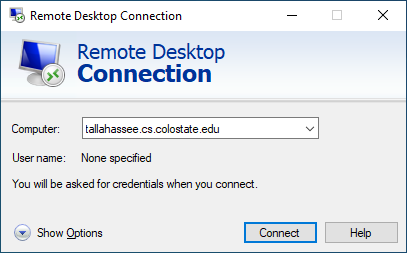
Windows OS comes with a remote desktop client pre-installed. In the Windows search menu search for ‘remote’. You will find an app named “Remote Desktop Connection”. Open it and use the screenshots below as a reference.
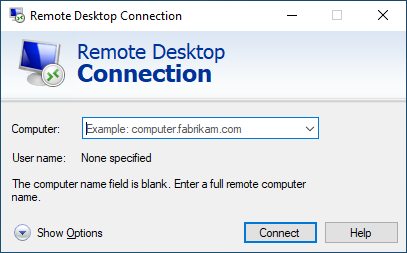
In the next window enter the CS machine’s fully qualified domain name. Under options you can change various things like the display size. Though the standard setting works well, if the performance is too low, try reducing the display size and adjusting for your network connection speed in the options.
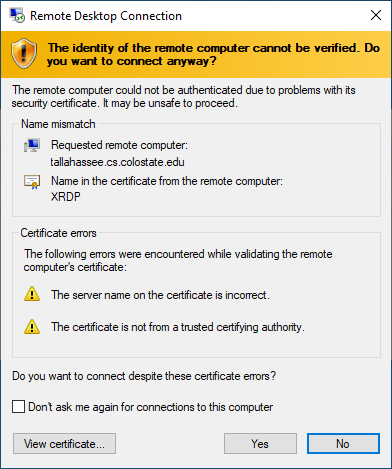
You can say “Yes” to the certificate warning in the next promt.
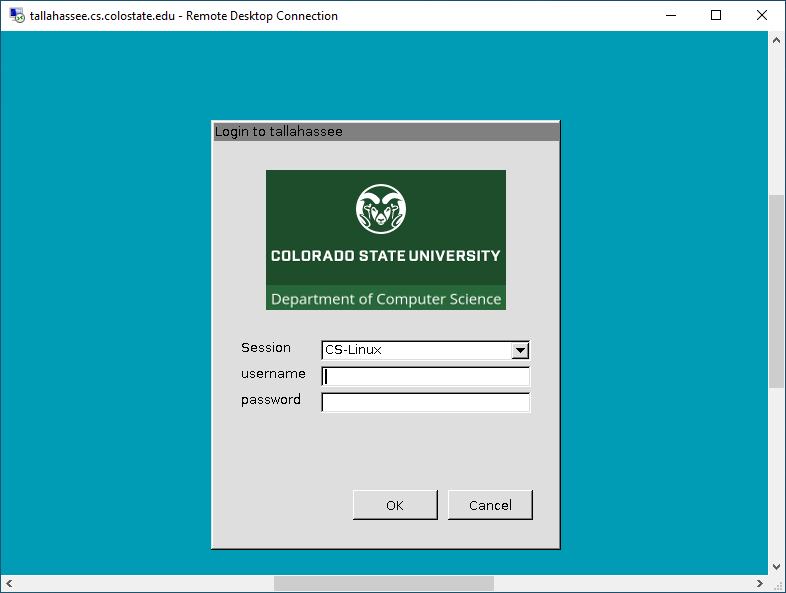
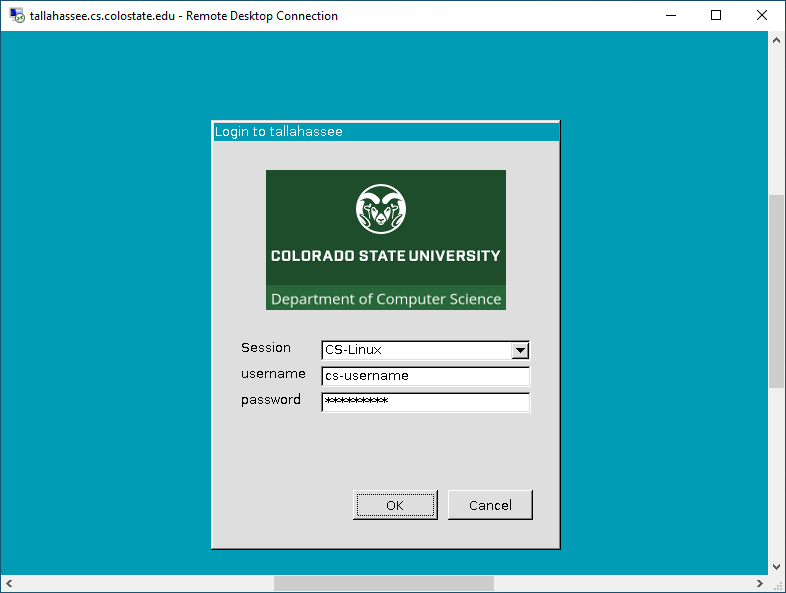
Now you should see a login screen where you can log in with your CS Linux account credentials.
After logging in you will be presented with a full desktop session. This starts a GNOME session by default. If you want another desktop environment please read the corresponding section on this page at the end.
Pausing a remote connection
If you would like to keep the session running and come back to it later, you can pause it by simply closing the RDP window (by hitting on the “X” in the window title bar).
Terminating a remote connection
If you would like to terminate the session completely, you need to log out inside of your RDP session, using the logout menu item of the desktop environment.
Changing Desktop Environment
The GNOME desktop environment is the default. But this can be changed to other available desktop environments. The desktop environment is set in the contents of the file .xsession in your home directory of your CS Linux account. If this file does not exist in your account, you can create it manually.
To choose another desktop environment, edit the contents of this file as per the list below:
- GNOME: gnome-session
- KDE Plasma: startkde
- XFCE: startxfce4
- Cinnamon: cinnamon-session
For example, if you would like to set XFCE as your default RDP desktop environment, the contents of the .xsession file should be:
startxfce4
Make sure the permissions on this file are set to 700. This can be done by the command:
chmod 700 ~/.xsession
Troubleshooting
RDP is a resource intensive service and requires a decent amount of compute, memory, graphics and network resources on your laptop. A good bandwidth Internet connection is crucial for a lag-free experience. Issues concerning with “black screen”, session freezes or laggy response are most likely because of inadequate bandwidth.
Make sure you meet the following requirements at your end:
- You are using a decent machine with enough CPU, memory and graphics resources.
- You are not running resource intensive tasks in the background.
- Your upload and download speeds are of the same order of magnitude and not too low.
- You are not sharing your Internet bandwidth with other devices in your home (for example, someone streaming Netflix in another room).
- Your ISP does not throttle down RDP traffic. Some ISPs use traffic shaping to throttle certain kinds of traffic like VoIP, RDP, games, video meetings, etc.
If you meet all the requirements above but are still experiencing problems, consider following these tips for a better experience:
- Adjust your RDP client to use a lower resolution. Select as small a resolution as is needed for your task.
- Do not run RDP on full screen, especially if you have a high-resolution monitor.
- Use XFCE desktop environment.
- If your RDP client supports optimization for connection speed, choose a slow connection speed.
- Again, if your RDP client supports it, choose a lower color depth.
- Do not enable remote audio.
- Do not use local resources on the RDP connection (like printers etc.).